To prepare your flip flops and ensure its longevity, you need to clean them thoroughly. With “Preparing the Flip Flops” section in this article, you’ll discover an easy and effective solution to your flip flops cleaning needs. This section comprises sub-sections such as “Reasons to Clean Flip Flops”, “Materials Needed”, “Steps to Clean Flip Flops”, “Drying Flip Flops”, and “Maintaining Flip Flops.”
How to Clean Flip Flops
Flip Flop Maintenance: Why Cleaning Is Essential
Flip flops are a popular and comfortable footwear option that requires routine cleaning, not just for aesthetic purposes. Here are three reasons why cleaning your flip flops is essential.
- Hygiene: Flip flops are exposed to bacteria, germs, and fungus when you wear them outside. Cleaning them regularly can help maintain good hygiene and prevent infections.
- Durability: Keeping your flip flops clean can prolong their lifespan by preventing damage caused by dirt and debris buildup that can wear down the sole or cause discoloration.
- Appearance: Regular cleaning of your flip flops helps to preserve their appearance by eliminating dirt stains, salt residue from the beach or swimming pool, and foot odor.
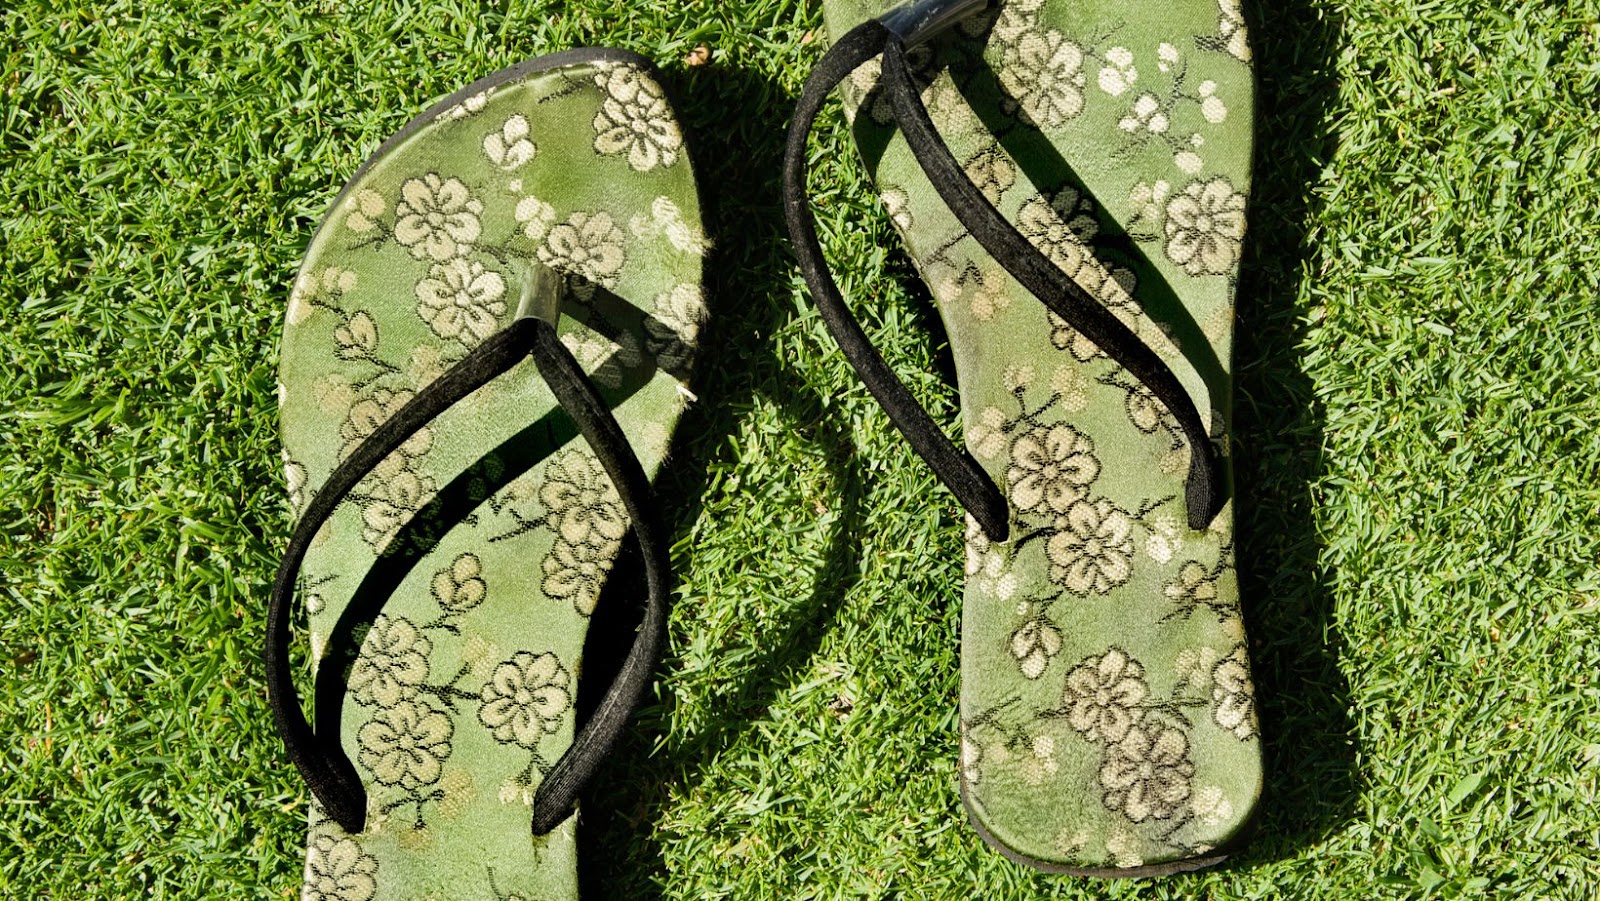
It’s important to note that different materials require different cleaning methods. Sandals with leather straps need special care compared to those made of rubber or synthetic materials.
Pro Tip: Always check the manufacturer’s instructions for specific washing guidelines before starting the cleaning process.
Who needs fancy shoes when you can make a statement with a pair of flip flops and a healthy dose of sarcasm?
Materials Needed
To gather all necessary items for preparing the flip flops, you will need the following materials:
- A pair of flip flops
- Decorative fabric or ribbons
- Fabric glue
- Scissors
- Tape measure
- Pins
Apart from these basic materials, you may want to consider adding some additional embellishments such as sequins, beads, or buttons to make your flip flops unique and personalized.
In order to create a durable and attractive design, it is important to ensure that the decorative materials are cut precisely and fitted onto the flip flops correctly. Before gluing anything in place, take time to measure and draw out a plan for your designs.
Once you have gathered all necessary materials and planned out your design ideas, it’s time to get creative! Consider attaching your decorative elements in layers or patterns for a fun and cohesive look. Remember, there are no rules when it comes to DIY flip flops – so have fun experimenting with new techniques and textures.
From grime to shine, these steps will have your flip flops looking like they’ve just stepped out of a spa.
Steps to Clean Flip Flops
When it comes to maintaining hygiene standards, it’s essential to focus on cleaning flip flops too. Here are the recommended steps to ensure a clean and comfortable pair of flip flops that contribute to your wellbeing:
- Remove any dirt or debris from the flip flops using a soft brush or cloth.
- Create a mixture of warm water and mild detergent, immerse the flip flops into the solution, and leave them for a few minutes.
- Gently scrub your sandals with a soft-bristled brush or sponge to remove any grime or stains.
- Rinse thoroughly with clean water, ensuring all soap is removed.
- Air dry in a well-ventilated area and avoid direct sunlight.
- Apply an appropriate conditioner if necessary according to the manufacturer’s instructions.
To maintain their quality for longer periods, ensure that the flip flops only come in contact with clean surfaces for storage.
Wiping down the surface of flip flops with disinfectant wipe can help remove bacteria. Remember taking care of your personal belongings saves you money in the long run; Clean pair cleaner wallet.
A friend once shared an experience on how they didn’t realize how dirty their flip-flops were until they decided to wash them. They had been feeling uncomfortable whenever they wore them but couldn’t figure out why until he noticed how much dirt came off while cleaning them up. From that experience, it was now paramount always to regularly check whether my footwear was in good condition.
Who needs dry cleaning when you can just throw those sandals in the washing machine and hope for the best?
Dry Cleaning
- To properly clean your flip flops, start with 1.0 Air Drying to remove any loose debris.
- Next, move onto 2.0 Dry Cleaning by using a soft-bristled brush or cloth to wipe away any remaining dirt or stains. Pay special attention to the crevices of the flip flops to ensure thorough cleaning.
- For an extra deep clean, consider adding a mild detergent to the water used for dry cleaning. This will help break down any stubborn stains or grime without damaging the material of your flip flops.
- After dry cleaning, it’s important to rinse your flip flops thoroughly with clean water and allow them to air dry completely before wearing them again. This will prevent any potential bacteria growth and ensure long-lasting wear.
- To keep your flip flops looking their best between cleanings, store them in a cool, dry place away from direct sunlight and heat sources. Consider using shoe trees or stuffing the toes with tissue paper to help maintain their shape over time.
- Give your flip flops a good brushing, because it’s not just your ex that needs to be scrubbed clean.
1 Brush Off Dirt and Debris
To prepare your flip flops for use, it’s crucial to eliminate dirt and debris as they can impact your footwear negatively. Remove any accumulated dust particles and unwanted substances from your flip flops to guarantee longevity.
- Brush off the Dirt and Debris
- Gently scrub the footwear with a soft brush or toothbrush.
- Start cleaning from the top of the soles, then move on to other areas.
- Pay particular attention to hard-to-get spots on the sandals.
- If required, utilize a damp cloth to remove dirt.
- You can employ a mild soap solution diluted in cold water again if needed.
- Rinse the flip flops in cold water thoroughly and let them dry in a well-ventilated area in an upright position until fully dried.
It’s vital to store clean dry sandals away from direct sunlight, moisture or heat for safe keeping. Prevent scratches and avoid stacking they directly on top of one another.
Did you know that a study conducted by researchers at the University of Houston found that flip-flop wearers strained muscles?

Who needs a maid when you have a lint roller and a pair of flip flops?
2 Use a Lint Roller or Tape to Remove Smaller Debris
To maintain your flip flops, you can use a simple technique to remove smaller debris from them. This can be done using a lint roller or tape.
- Run a sticky lint roller over the flip flops to collect small particles of dirt, sand, and other debris that might be stuck on them.
- You can also use a strip of tape to cover your fingers, get rid of any remaining dust, or debris on the flip flop surface.
- Be gentle while applying pressure as too much force could damage the straps or sole of the flip flops.
For additional care, you may rinse the sandals with cold water to remove any extra filth, and leave them in an airy space away from sunlight. It is recommended to repeat this process before storing your sandals each time you wear them.
To ensure maximum longevity of your flip flops, here are some tips:
- Avoid wearing wet shoes for long periods.
- Avoid exposing them to heat sources like direct sunlight or dryers.
- Avoid using harsh chemicals like bleach when washing and always let them dry properly.
These practices will not only keep your flip flops in good shape but also prevent bacteria build-up and unpleasant odours.
Say goodbye to stubborn marks with the magic eraser unless you were hoping to keep them as a souvenir of your clumsiness.
3 Use a Magic Eraser for Stubborn Marks
When it comes to tough stains on your flip flops, using a Magic Eraser can yield excellent results. Here’s how to go about the task:
- Wet the Magic Eraser: Run the eraser under water until it becomes saturated.
- Rub the Stain: Gently scrub the stain in a circular motion with the wet eraser, applying light pressure.
- Rinse and Dry: Rinse off the flip flops thoroughly and then dry them completely before wearing.
To enhance the effectiveness of this technique, try using a brand-name magic eraser and avoid using too much water. Remember that not all stains can be removed with this method.
It’s important to take care of your flip flops properly if you want them to last longer. A few tips include storing them in a dry place away from sunlight, avoiding long periods of exposure to heat, washing them regularly, and not wearing them for extended periods of time. These strategies will prevent stubborn marks from forming on your favorite footwear and maintain their durability.
Looks like these flip flops are getting a better bath than I am, and they don’t even have a body to clean!
Wet Cleaning
To remove any dirt and sweat, the flip flops need a thorough wet cleaning. Immerse them in soapy water, or use a mild detergent with warm water. Scrub the surfaces gently using a soft-bristled brush to avoid scratches. Rinse off with clean water and let them dry under the sun or at room temperature.
It is essential to check if there are any stains left after cleaning, especially on white flip flops. If still visible, dampen a cloth with rubbing alcohol and rub over the stained area gently. Do not apply too much pressure as it may damage the material.
For greasy stains, sprinkle some baking soda over the affected area and rub with a soft brush before washing them again.
Remember to clean the soles as well, as they may accumulate dirt and bacteria over time. To remove any grime, use an old toothbrush or scrubbing brush along with soapy water.
By following these steps, your flip flops will remain odor-free and hygienic for continuous use throughout summers.
Cleaning flip flops is like keeping your life together – use mild soap and water, take it one step at a time, and pray for the best.
1 Use Mild Soap and Water
To keep your flip flops clean and hygienic, it is recommended to wash them with mild soap and water regularly. Follow these easy steps to clean your flip flops effectively:
- Begin by mixing a mild soap with water in a small bowl.
- Dip a soft-bristled brush or cloth into the mixture.
- Gently scrub the surface of the flip flops in circular motions.
- Rinse the flip flops thoroughly with clean water and allow them to air dry.
It is important to avoid using harsh chemicals or abrasive materials when cleaning your flip flops as they can damage the material.
If you notice any stubborn stains that cannot be removed with mild soap and water, try using vinegar or baking soda mixed with warm water to get rid of them.
Remember to clean your flip flops after each use, particularly if they have been exposed to dirt, sand or saltwater, for optimal maintenance.
A friend of mine once wore dirty flip flops while on vacation and ended up contracting a fungal infection that made her feet swell and itch terribly. Avoid such outcomes by keeping your footwear clean and hygienic at all times!
Your white flip flops will be so clean, you’ll have to blindfold the neighbors to keep them from being jealous.
2 Soak in a Bleach Solution for White Flip Flops
Cleaning white flip flops is essential to maintain their pristine look. One effective method in doing so is by using a solution of bleach and water for soaking.
To soak white flip flops in bleach solution, here’s a 5-step guide:
- Prepare the mix by combining one-part bleach with four-parts water.
- Take a clean basin or bucket and fill it with enough bleach solution to cover the flip flops completely.
- Gently scrub the flip flops with a soft-bristled brush and mild detergent before submerging them into the bleach solution.
- Submerge the flip flops completely into the soak solution until they turn much lighter or white again. Duration will depend on how yellow or dirty they are but generally leave them for ten minutes to thirty minutes.
- Rinse well under running water to get rid of excess bleach before airing dry under shade.
It’s worth noting that rubber sandals (and other non-cotton materials) have been soaked in bleach solutions for decades, as stated on footwear forums. However, always follow the manufacturer’s instructions when tackling this kind of job as any harsh chemicals – including bleach – can negatively affect some types of rubber.
Finally, a solution for those stinky flip flops that doesn’t involve setting them on fire.
3 Use Baking Soda and Vinegar Solution for Odor
For an effective solution to eliminate odors from flip flops, try using a mixture of baking soda and vinegar. This method is highly effective in neutralizing any unpleasant smells and keeping your footwear fresh.
Here is a 3-step guide for using the baking soda and vinegar solution on your flip flops:
- Prepare the mixture by mixing half a cup of baking soda and one cup of vinegar in a bowl.
- Pour the mixture over your flip flops, making sure to cover all areas evenly. Allow the solution to sit for at least 10 minutes.
- Rinse off your flip flops with cold water, ensuring that all residue from the mixture is washed away. Allow them to air dry completely before wearing them again.
It’s important to note that this method should not be used on leather or suede flip flops as it could damage the material.
In addition, adding essential oils such as tea tree oil or lavender oil to the mixture can provide additional benefits such as antibacterial properties and a pleasant scent.
Don’t let smelly flip flops ruin your day! Try this quick and easy solution for fresh and odor-free footwear.
Good news: drying flip flops is much easier than trying to dry a wet T-shirt on a humid day.

Drying Flip Flops
Properly drying your beloved flip flops
Flip flops require proper drying to keep them in pristine condition. Here are some ways to ensure they don’t have an unpleasant odor and maintain their fit for the next use.
- Use a towel to wipe off excess moisture from the flip flops.
- Place them away from direct sunlight or heat as it may cause damage.
- Stuff the toe straps with tissue paper, which helps retain its shape.
- Flip them over to air out and prevent any stench from building up.
- Avoid using a dryer, as heat can warp the plastic soles.
- Instead, leave them on a flat surface in a well-aerated area.
Flip-flops should be dried after every wear and not left damp for too long. This extended exposure increases the likelihood of bacteria growth and causes your precious pair to stink. A simple step would be wiping your feet before wearing the flip-flops. Doing this ensures that there is no residue on your feet that could increase bacterial activity.
Fun fact – Hawaii has an official state law where public workers can wear open-toe shoes such as sandals or flip-flops to work. (source: insidetravelguide.com)
Don’t skip this step, or you’ll be slipping and sliding like a clumsy penguin on an ice rink.
Pat Dry with a Towel
After washing your flip flops, the next step is to remove excess moisture by drying them. The process starts with using a towel to absorb the water from the flip flops.
Here’s a 5-step guide on how to pat dry your flip flops:
- Gently place the towel on top of one of the flip flops
- Press down firmly onto the towel, allowing it to absorb any excess water
- Remove the towel from the flip flop and repeat the process on the other side
- Diffuse any remaining moisture by pressing a dry section of towel into all areas of both flip flops until no more water is absorbed.
- Repeat steps 1-4 with your second pair of flip-flops if you have any.
It’s important to make sure that all excess moisture is removed. Leaving it can cause damage to your flip flops and lead to odors or mold growth.
To ensure thorough drying, consider leaving them in an area with minimal or no humidity for a few hours. This will allow them to air dry properly before being worn again.
Pro Tip: Avoid using a hairdryer or heat source as this will cause damage and deformity to your flip flops. If you’re wondering why your flip flops are still wet after air drying them upside down, just remember that gravity isn’t always on your side.
Air Dry Upside Down
When preparing your flip flops, it is important to allow them to air dry properly to prevent mold and mildew growth. One effective method is to invert them and leave them upside down to encourage faster drying and water evaporation. Here’s a 6-step guide on how to air dry your flip flops upside down:
- Clean the dirt or sand off your flip flops using a damp cloth.
- Invert each flip flop, so the toes are pointing towards the floor.
- Place the flip flops in an area with good ventilation, avoiding direct sunlight.
- Allow them to air dry completely for several hours or overnight depending on how wet they are.
- After they’re completely dry, give your flip flops a quick wipe with a clean, dry cloth.
- Store them in a dry place where they won’t get dusty or damp until you wear them again.
Remember, it’s essential to let the flip flops dry completely before storing them away; otherwise, bacteria and fungus can grow inside. It’s crucial to ensure that your flip-flops are entirely dry before wearing them again. Still, it may be useful to examine their soles after wearing them outside over an extended period as any grit trapped on the bottom could cause discomfort when walking. I recall going on vacation last summer where I forgot my sandals next to the beach near my hotel room free of charge for everyone interested in saving some money instead of buying expensive beach shoes. To my surprise, I came back from sightseeing and found out that someone had taken both one left sandal of each pair. From that moment on, wherever I went around town during those vacations with missing sandals, locals showed great interest in looking at me from feet up once those two odd-looking shoes caught their attention. Who knew that newspaper, the thing we use to line our bird cages with, could also save our flip flops from their sweaty fate?
Use Newspaper to Absorb Moisture
Flip flops are essential footwear for the summer, but they can be quite uncomfortable when damp. Using newspaper to absorb moisture is an easy and effective way to keep your flip flops dry.
- First, crumple up a few sheets of newspaper into tight balls
- Stuff the newspaper balls inside your flip flops, filling the entire footbed
- Allow the shoes to sit undisturbed overnight, or until the newspaper has absorbed all the moisture
- Check periodically and replace the newspaper balls as needed
- For extra effectiveness, sprinkle some baking soda on top of the newspaper balls before inserting them into your flip flops
- Make sure to dispose of used newspaper properly to avoid cluttering.
Using newspapers as a moisture absorbent works wonders due to its high absorbency ability. It prevents accumulation of bad odor caused by bacteria thriving on damp surfaces. Additionally, it makes flip-flops more comfortable and prevents blisters which arise from wetness-friction.
To further enhance effectiveness, you can use thick newspapers that contain more fiber and absorbent qualities such as those like Wall Street Journal. Also, change moistened papers regularly for quicker results.
Using this method should ensure that your flip flops stay dry and comfortable throughout the summer season while maintaining hygiene levels.
Flip flops are like relationships – if you don’t maintain them, they’ll fall apart and leave you exposed.
Maintaining Flip Flops
Maintaining the longevity of your flip flops is crucial to avoid unnecessary replacements. Here’s a simple and quick guide to keep your flip flops in pristine condition.
- Keep them clean – Use soap and water to regularly clean the flip flops and remove any dirt or debris from between the crevices.
- Dry them fully – After cleaning, make sure they are dried completely to avoid moisture buildup that can cause an unpleasant odor or mildew.
- Store properly – Avoid leaving them outside or in a damp area, store them in a dry and cool place when not in use.
To add an extra layer of care for your flip flops, consider applying leather conditioner or waterproof spray to protect against wear and tear.
Finally, always check for any signs of damage before wearing. If the flip flops appear too worn out, cracked, or discolored, it’s time for a replacement. By following these simple steps, you’re sure to extend the lifespan of your beloved flip flops.
Better hope your flip flops don’t get too cool or they’ll flip flop on wearing them.

Store in a Dry and Cool Place
To ensure the longevity and quality of your flip flops, it is imperative to store them in an environment that is both cool and dry. Proper storage will not only prevent damage to your flip flops, but also minimize the breeding of bacteria which can contribute to foul odors.
When storing your flip flops, consider a location that is free from direct sunlight and moisture such as a closet or shoe rack. Avoid storing them in an area with high humidity such as a bathroom or basement. Investing in a breathable shoe bag or container will further protect your flip flops from dust and dirt particles.
In addition to proper storage, it is important to handle your flip flops with care when putting them on and taking them off. Using extreme force can cause irreparable damage to the straps or sole, leading to decreased durability over time.
Don’t miss out on the benefits of long-lasting and functional flip flops by neglecting simple maintenance practices such as proper storage and handling. Take action now and ensure you get the most out of your investment.
If your flip flops aren’t waterproofed, you might as well just wear them in a swimming pool.
Use a Waterproofing Spray
To effectively protect your flip flops, the application of a waterproofing spray is essential. Here are six points to consider when using a waterproofing spray:
- Select the appropriate type of waterproofing spray
- Clean the flip flops before applying the spray
- Allow your flip flops to dry completely after cleaning them
- Wear gloves and mask for protection while applying the spray
- Spray evenly on all surfaces of the flip flops
- Let the spray dry completely before using your flip flops again.
For best results, you should repeat this process every few months or as necessary. Remember that taking care of your shoes is an important step in ensuring their longevity.
When it comes to waterproofing sprays, there are details unique to each brand and formula that are important to consider. Always follow specific instructions provided by the manufacturer for optimal use.
In a similar situation, my friend used a cheaper alternative and skipped certain steps in applying a waterproofing spray to her leather sandals. As a result, they were ruined in an unexpected rainfall during her vacation, leaving her with no comfortable footwear for days. Don’t let this happen to you – always prepare your footwear properly.
Flip-flopping your feet has never been more socially acceptable, now go ahead and rotate those summer stompers.
Rotate Wearing Flip Flops
To ensure optimal performance of your flip flops, it is essential to rotate them regularly. By doing so, you can prevent the soles from wearing down unevenly and increase the longevity of your footwear. Here are some points to keep in mind when rotating your flip flops:
- Start by owning more than one pair of flip flops.
- Alternate between your pairs every few days or once a week.
- Store your unused pairs away from direct sunlight and moisture.
- Avoid wearing the same pair for extended periods, especially during outdoor activities.
- Clean and maintain each pair before storing them away.
- Regularly inspect your flip flops for signs of damage or wear and tear.
It is worth noting that proper rotation also applies to specialized flip flops designed for specific activities such as hiking or sports.
Pro Tip: Consider labeling each pair with the date they were first used. This way, you can quickly determine how long you’ve had them and when it’s time to rotate them again.